
![]()
I am looking to start creating a Kubernetes cluster on bare metal. I am thinking of creating one Control Plane and 2 nodes.
In order to create the control plane and nodes that I need, I will need some virtual machines for each of my cluster components. In the past I have used Ubuntu Server with VirtualBox for the machine virtualization. This time, however, I would like to try XCP-ng as the Hypervisor. I stumbled onto XCP-ng after seeing this video by Tom over at Lawrence Systems.
Create the XCP-ng Install Media
Let’s start with getting the XCP-ng ISO along with Rufus. We will use Rufus to create the install media for us. In my case, I will use an old USB stick I have laying around.
To start, let’s go to https://xcp-ng.org/#easy-to-install to grab the ISO and the link to Rufus. So go ahead and download both the XCP-ng ISO and the Rufus application.
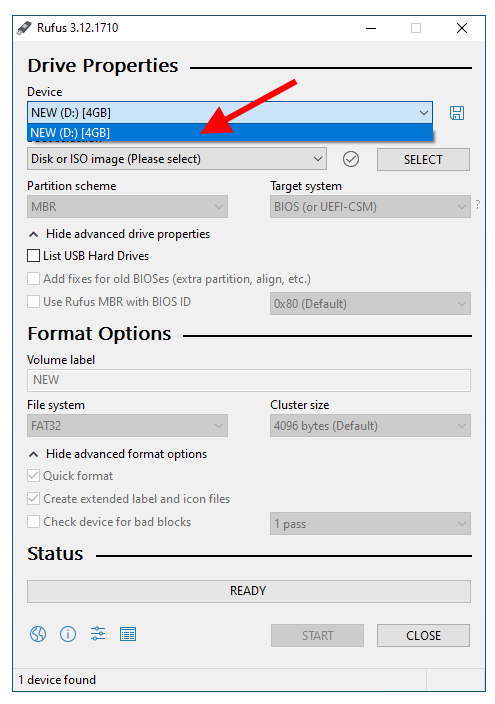
The next step would be to make sure you have some type of removeable media plugged in to your computer (USB stick in my case) and then run the Rufus application. When you are in Rufus, choose the device that you plugged in. In my case, the device would be a newly formatted USB stick.
Rufus First
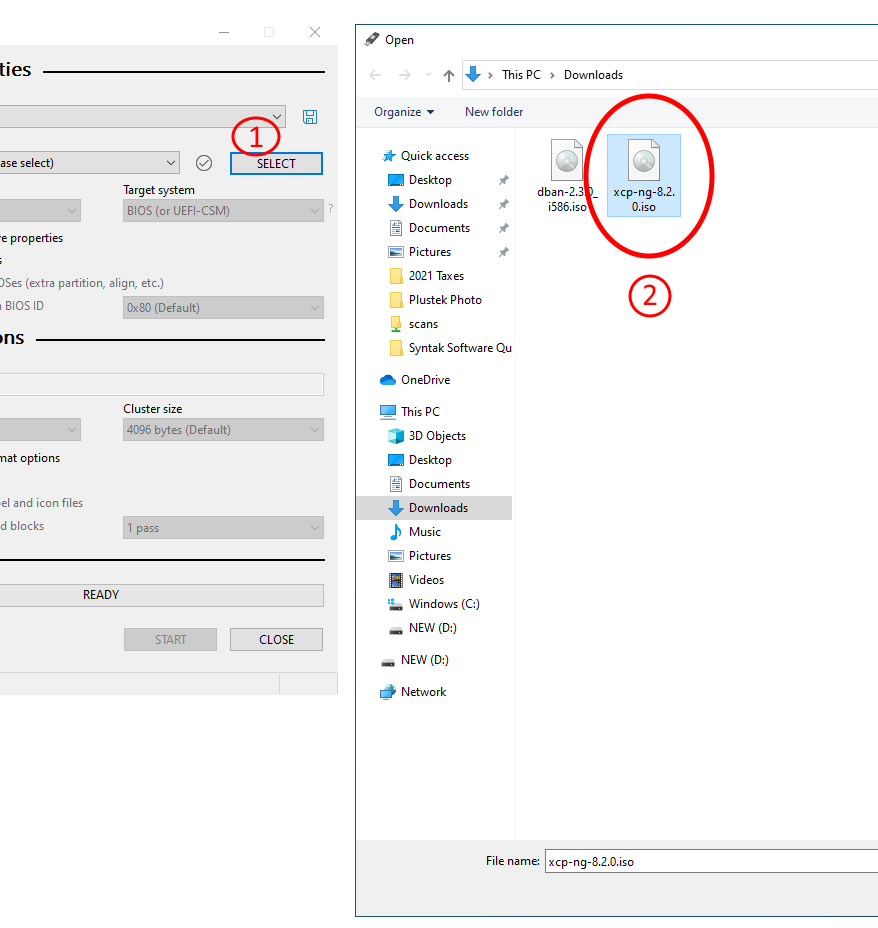
Next, SELECT the XCP-ng ISO file that you had previously downloaded.
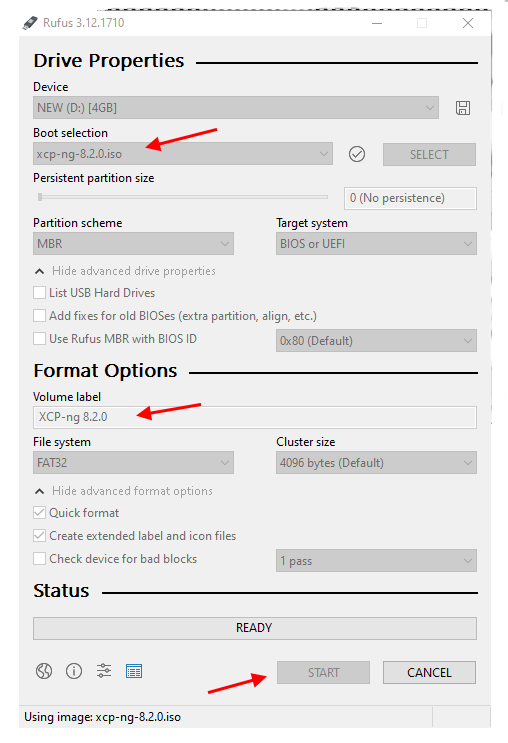
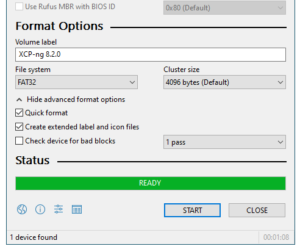
Notice that the Boot selection will be set to the name of the ISO file that you are going to use to create the boot media. Also, your media will be given a new Volume label. This is the name that would show when you plug the device into Windows. Now, from here, let’s START the boot media creation.
You will be presented with a choice to write the image as an ISO or DD type image. I have chosen to go with ISO.
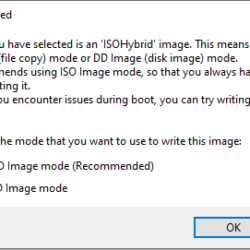
And then select OK to get the process started. This will write over anything that you may have on the media.

After Rufus has completed creating your bootable XCP-ng install media, you should get the green SUCCESS message.
XCP-ng Installation
I have gone ahead and plugged my USB stick into my server, booted the server and chose the USB as my boot device. When the server boots from you boot media, you will see this GRUB menu. You can choose *install or wait a couple of seconds and the installation process will start.

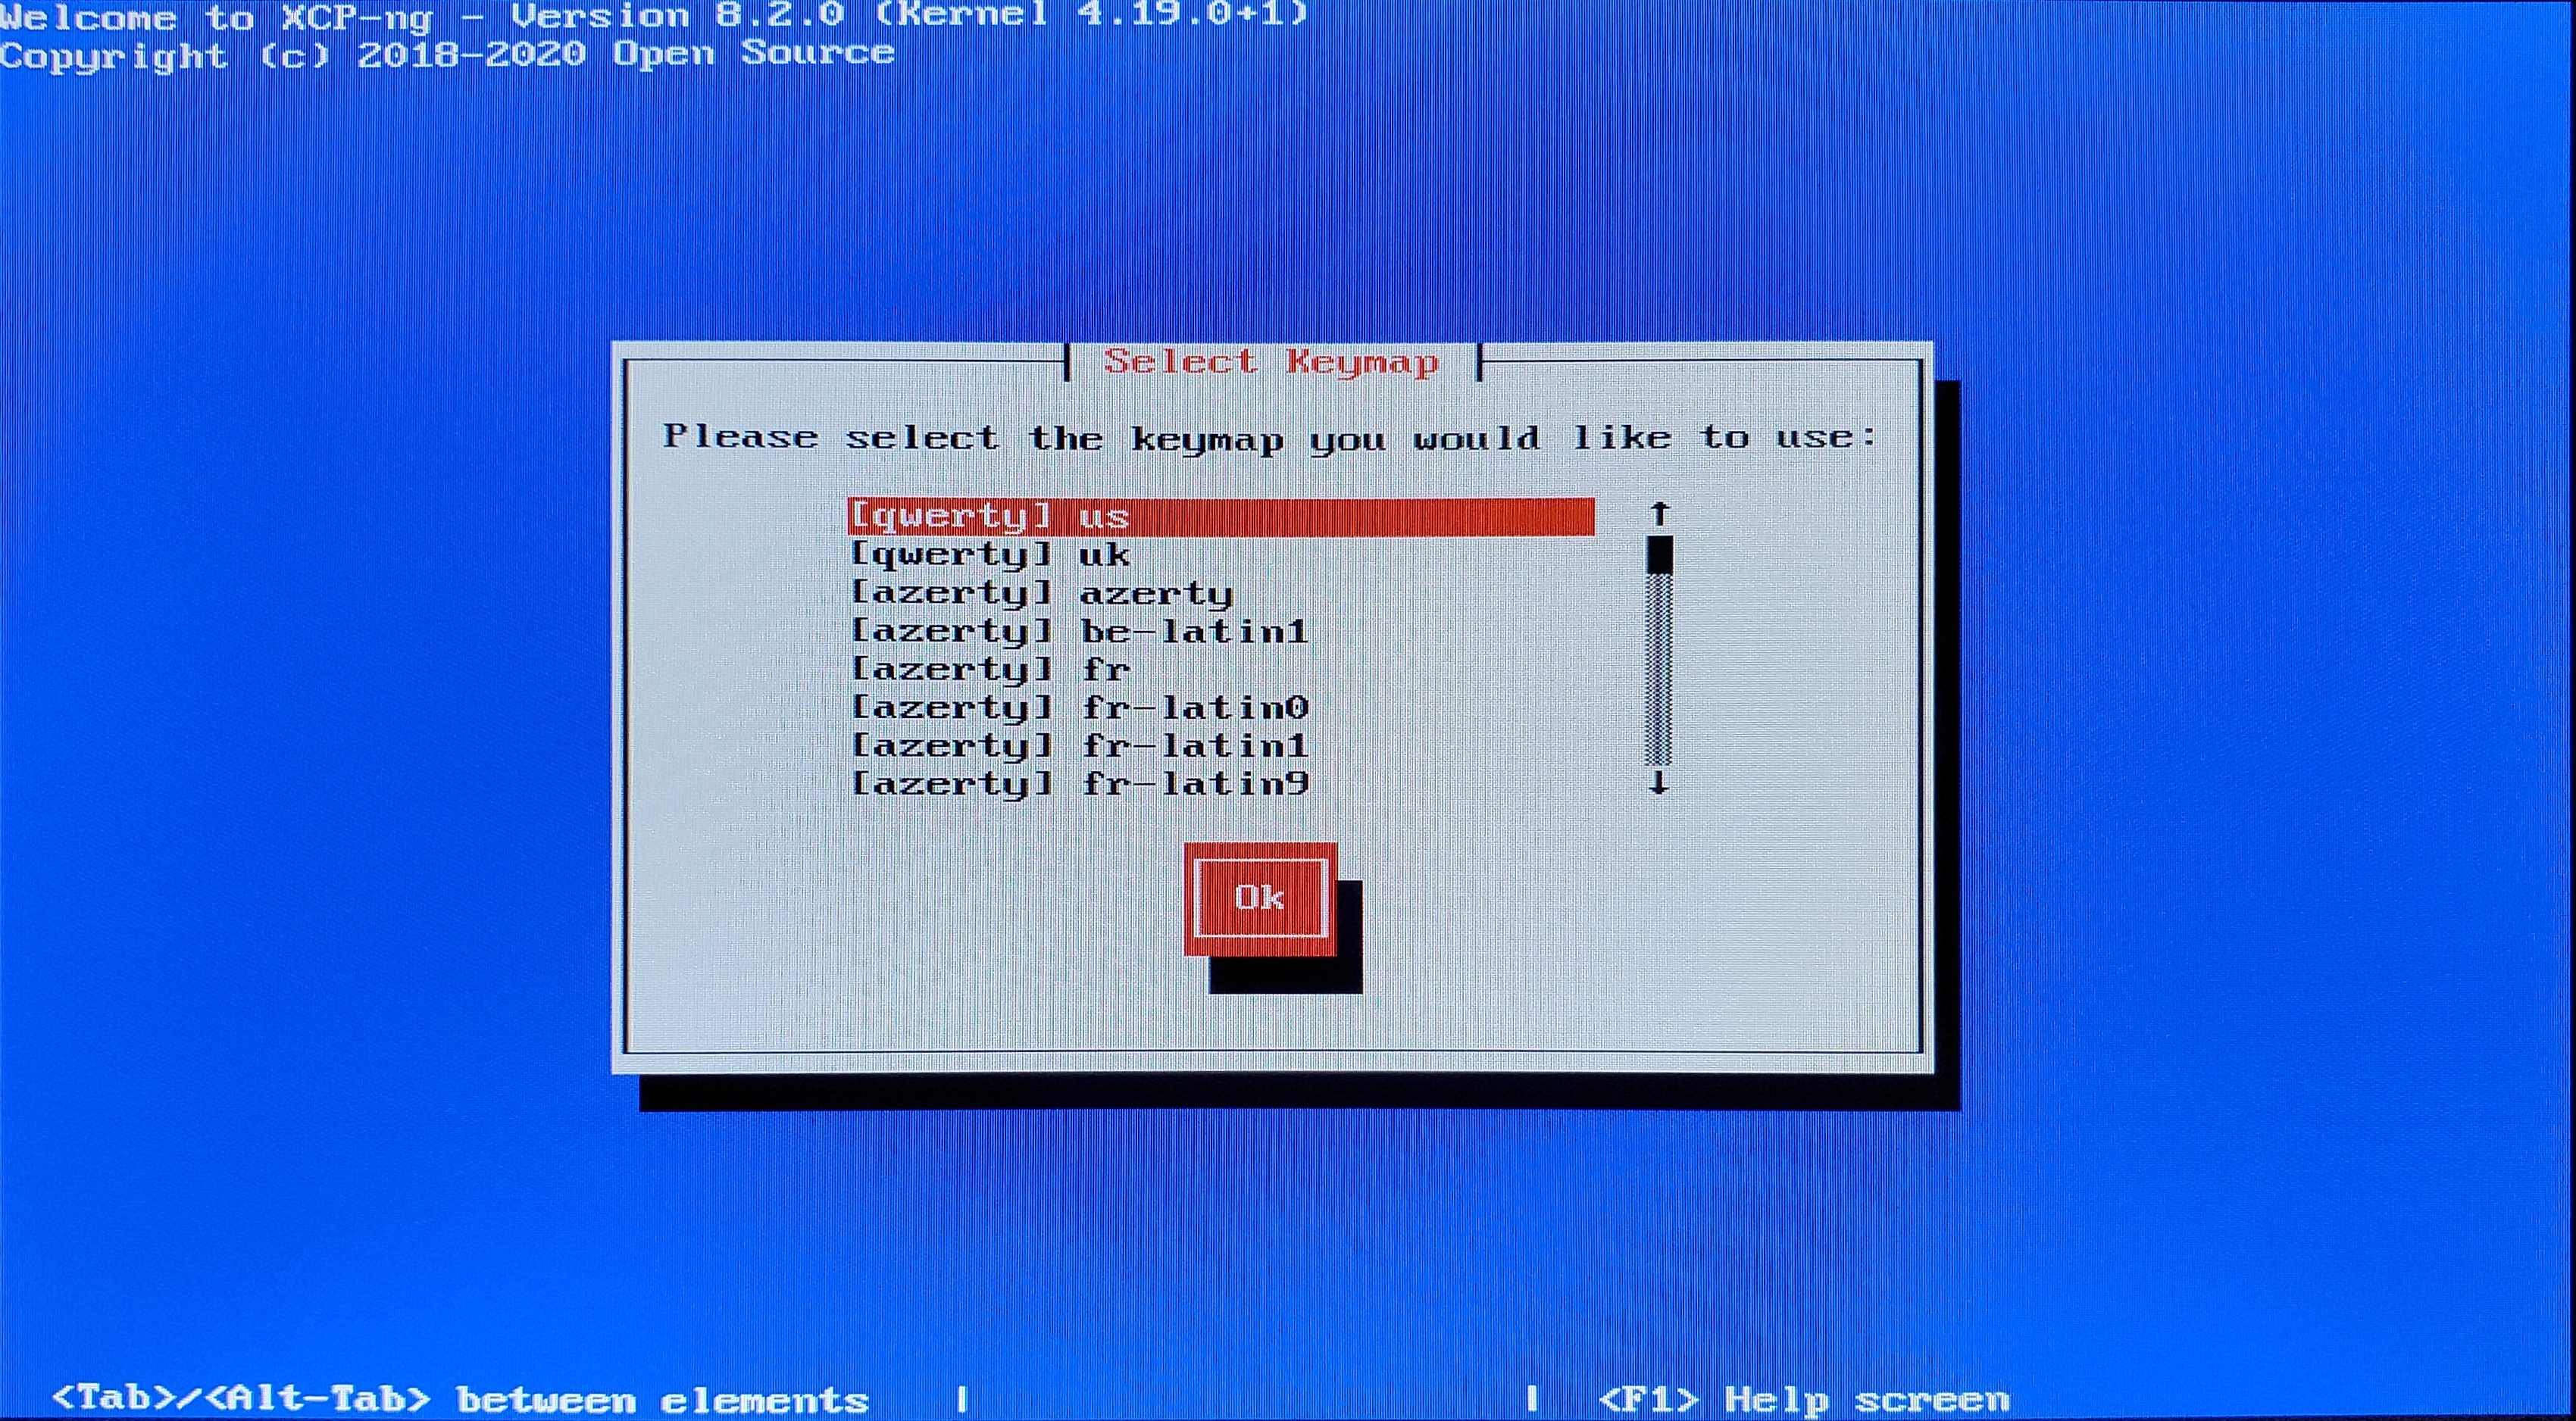
Our first installation screen.
I am choosing the US qwerty keyboard layout.
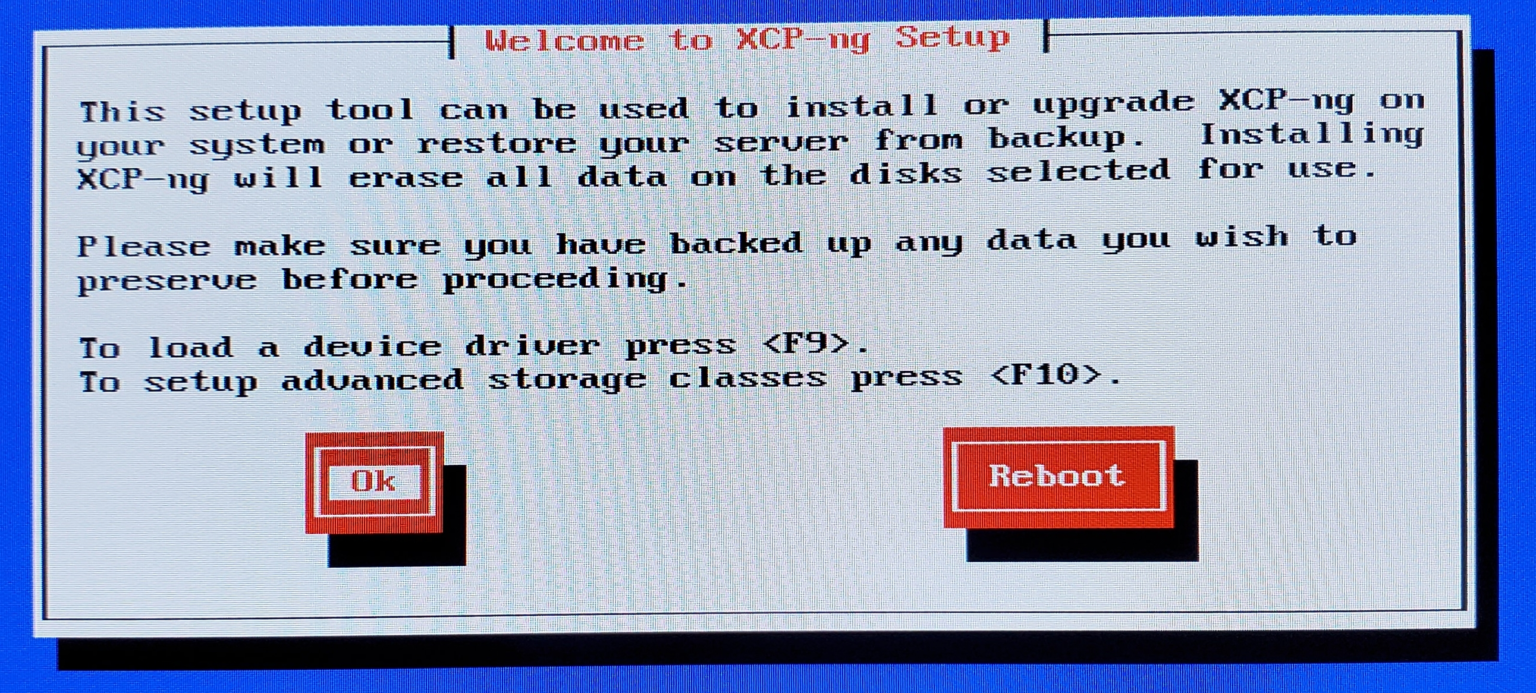
Select Ok to move ahead unless you know that you will need to install device drivers.
Go ahead and accept the EULA
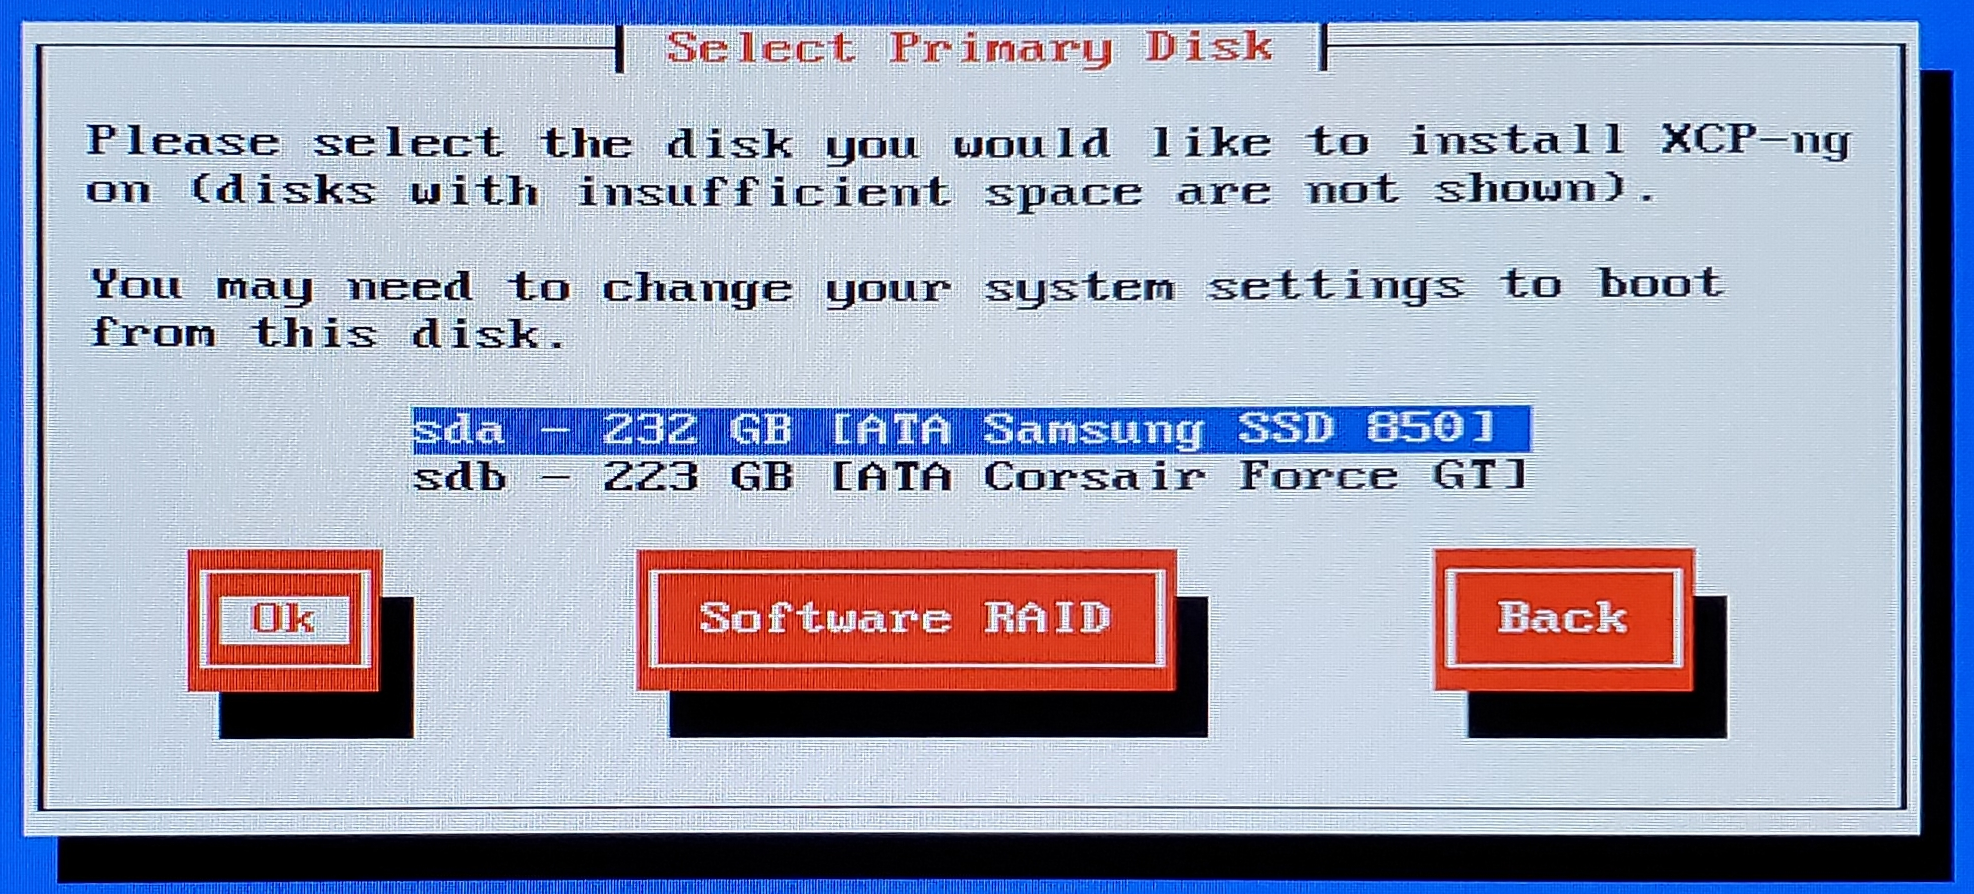
Disk Setup
Next, select the disk your system that is the Primary disk. This will also be the disk that XCP-ng will boot off of. Here, I have 2 disks, a Samsung SSD and a Corsair SSD. For my machine, I need to select the Samsung disk.
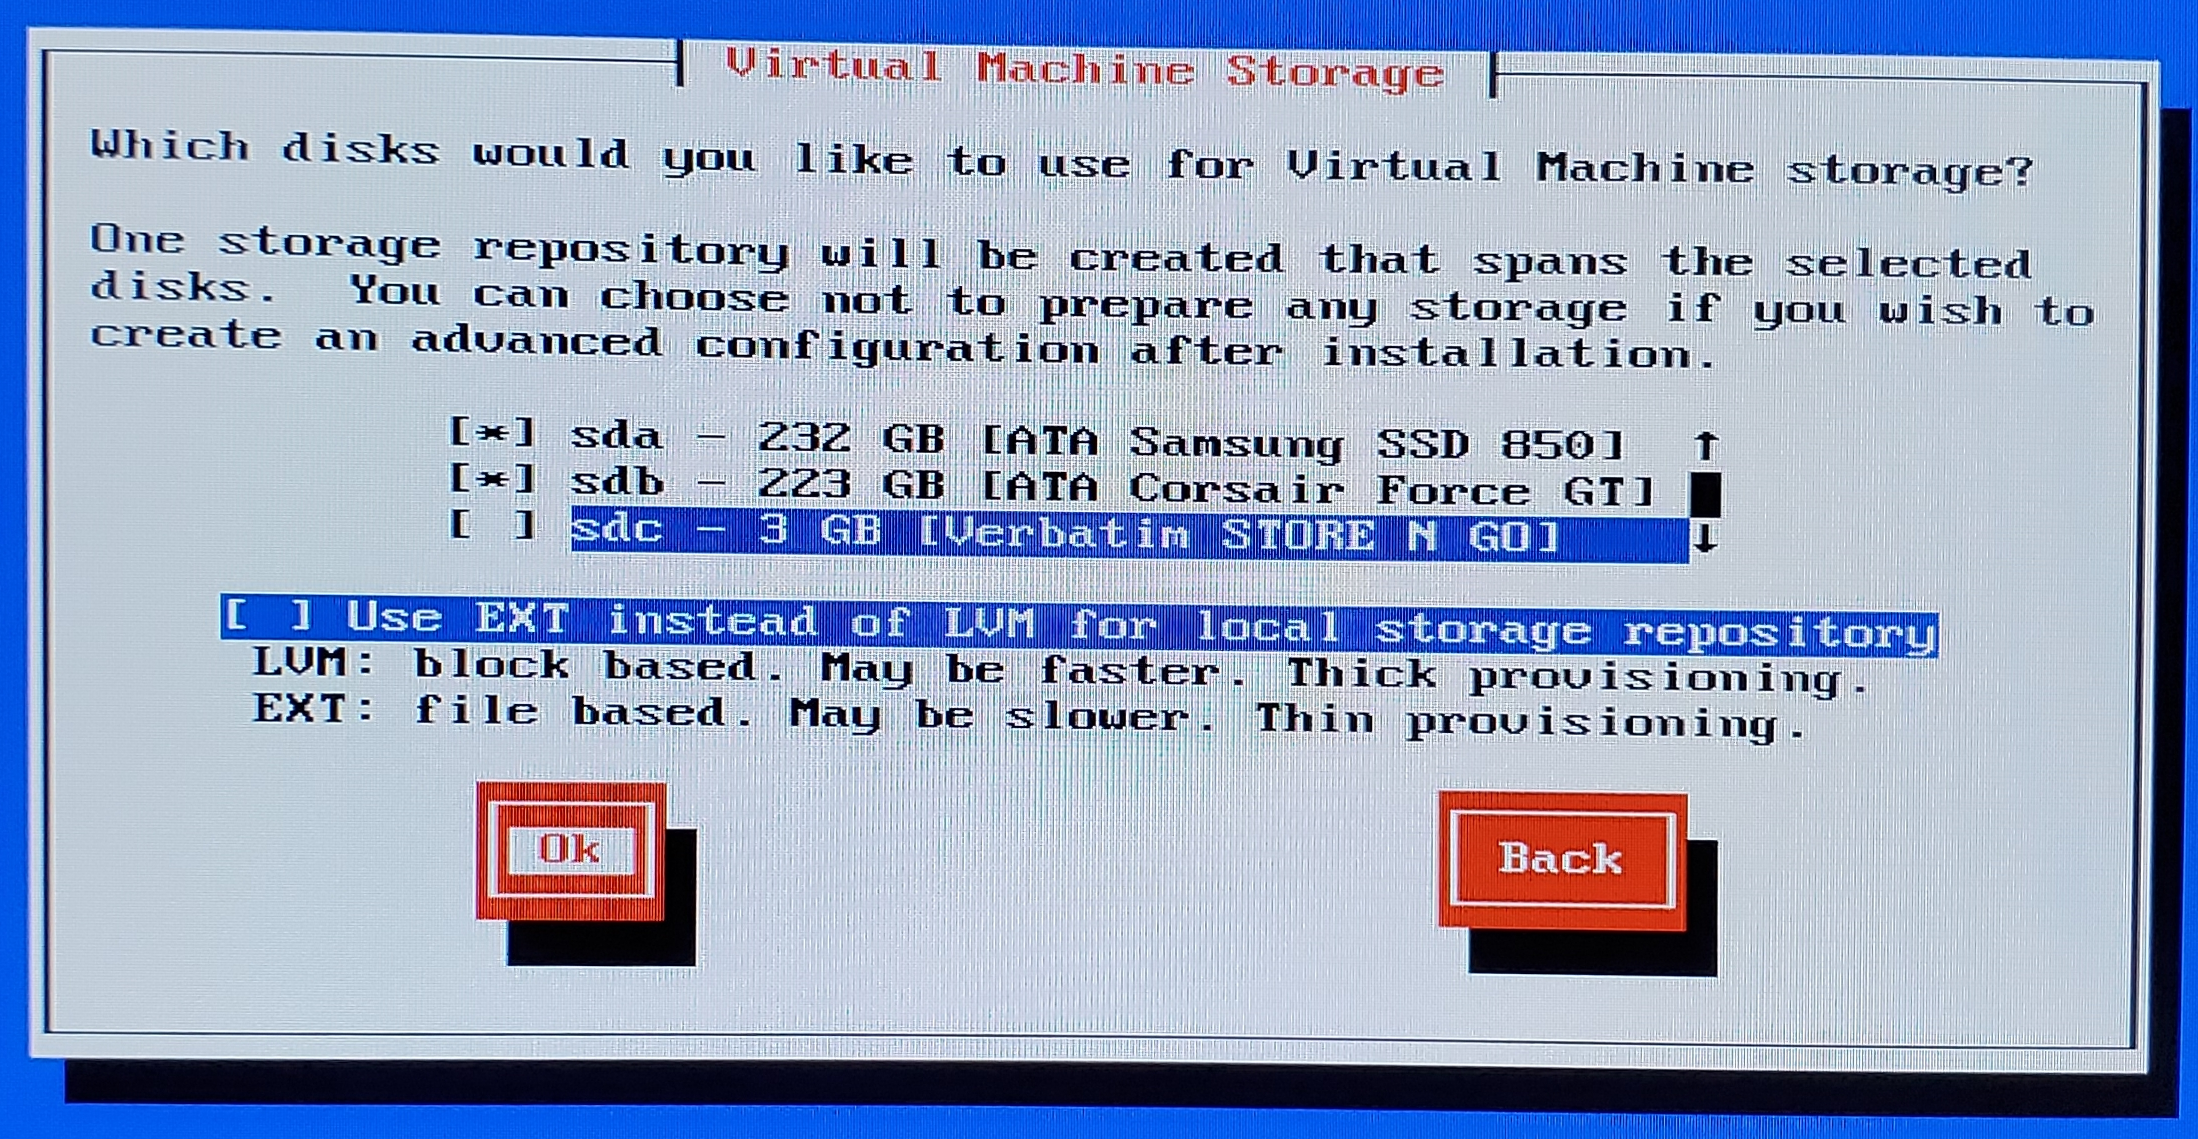
Here we will select any disk(s) that you want to use to store your virtual machines. If you have one disk in your system, you will see just the one disk along with your XCP-ng install media. Again, I have 2 SSDs on my machine and I am going to choose to have the storage of my virtual machines run across both drives. I am also going to stay with LVM for my drives, so I will not be selecting the “Use EXT” option.
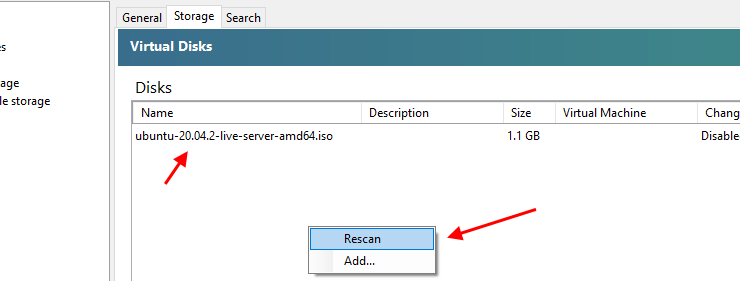
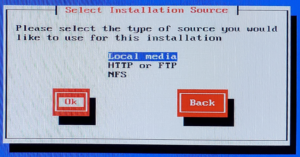
On this step, the installation process will ask what media source you would like to use in order to run the actual installation. I am choosing “Local media” here and the process will continue to run from my USB stick.
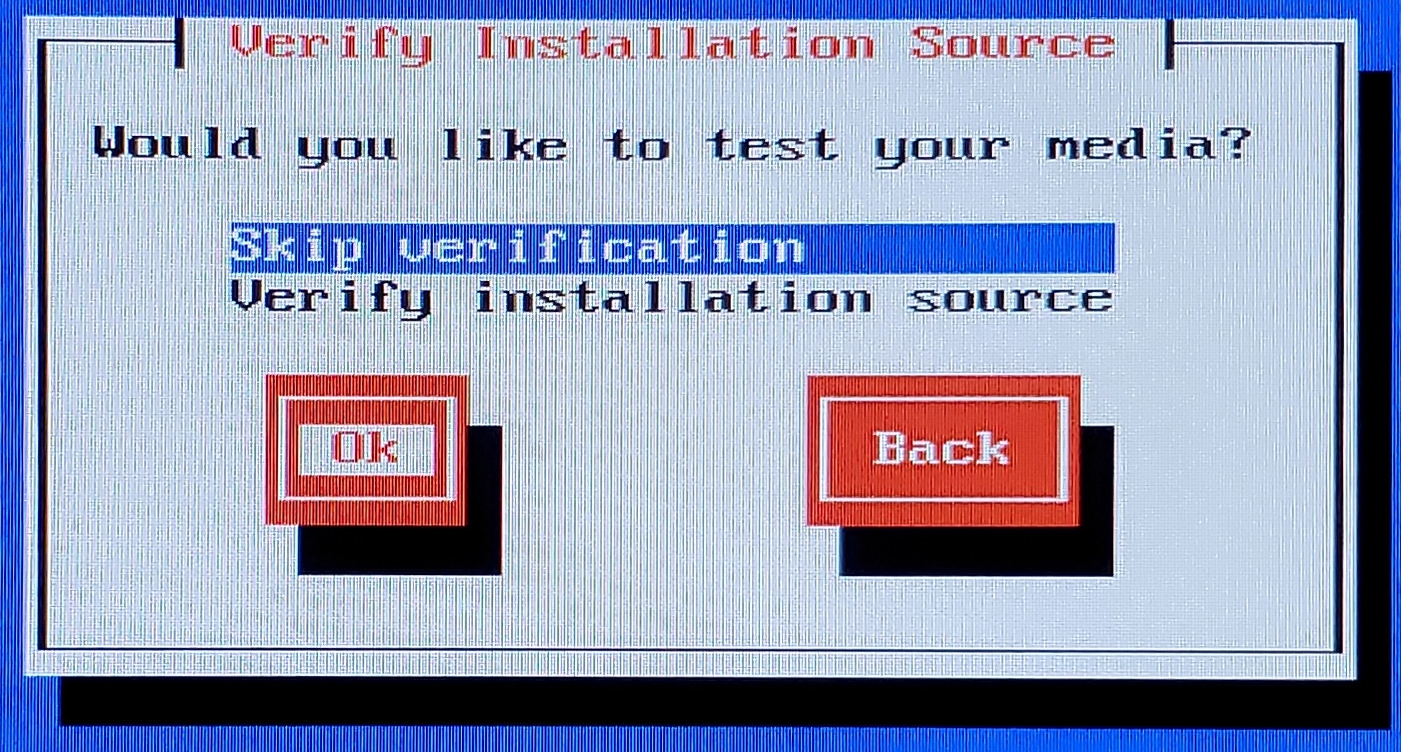
Because we are just using this as a home lab, I don’t really need to have the installation process run through the installation verification. I will skip this. Note: Any production installation of XCP-ng should most certainly run the verification step.
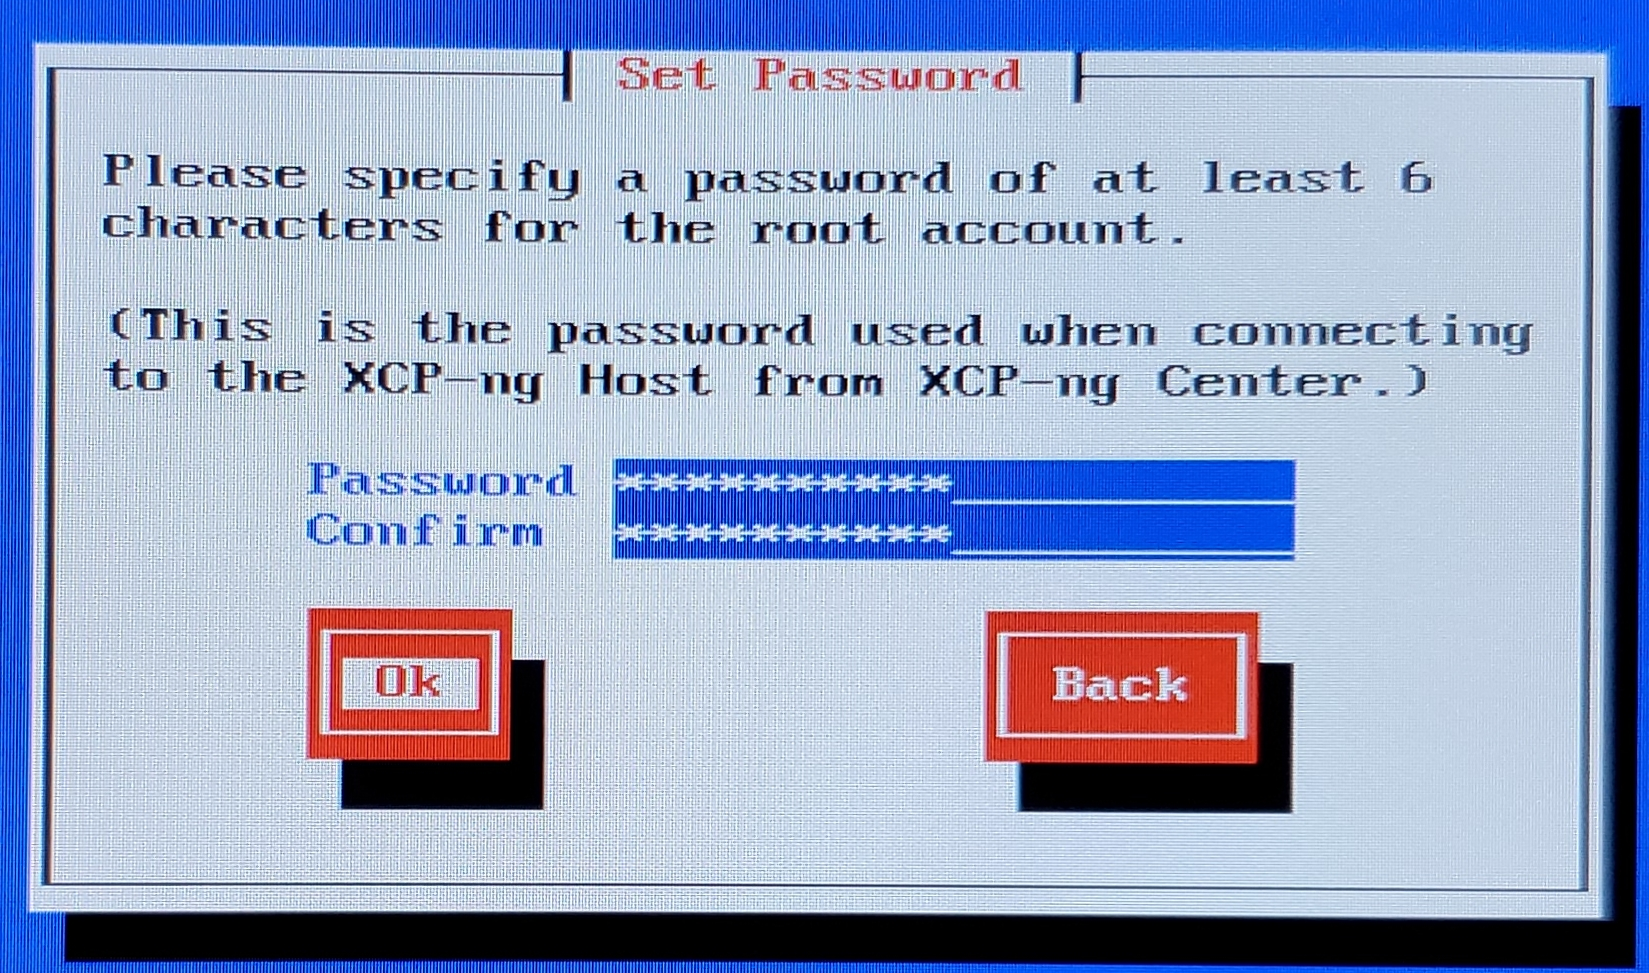
Next, go ahead and enter a password for your XCP-ng instance.
Note: Remember this password! You will need it to log into the server later on when we configure the software.
Network Setup
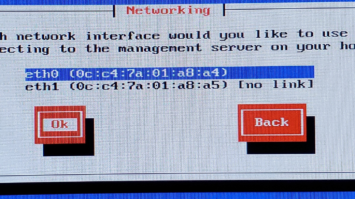
Here we select the network interface card that we want to use. My machine has 2 network cards and I only have 1 plugged in, so I will choose “eth0”, which is the card that I normally use.
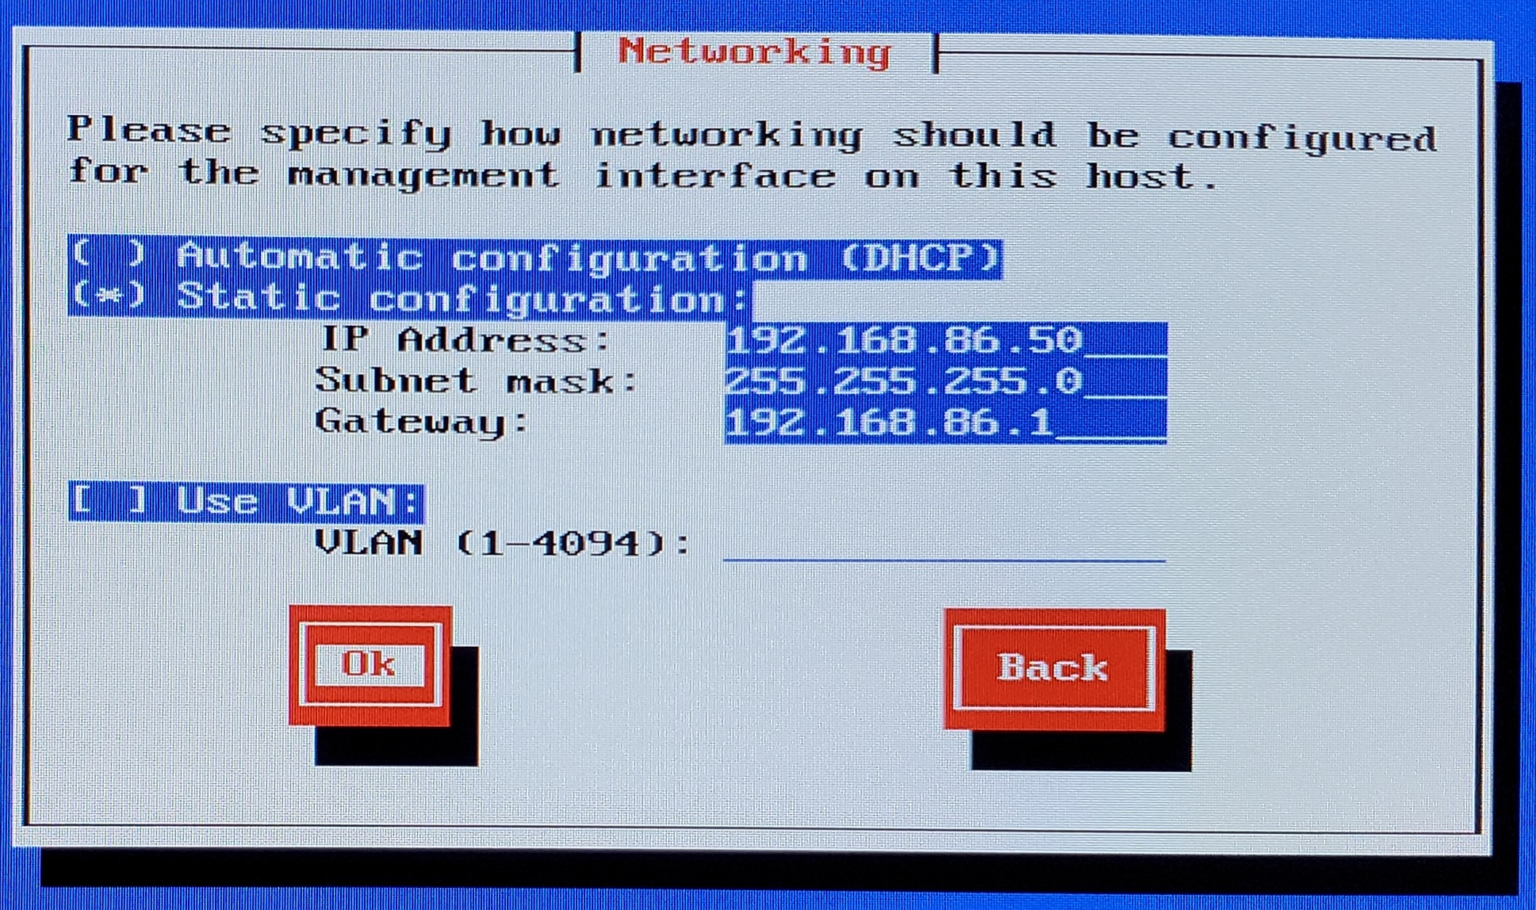
I will not be using a VLAN for my setup, but I am going to give my machine a static, local IP address.
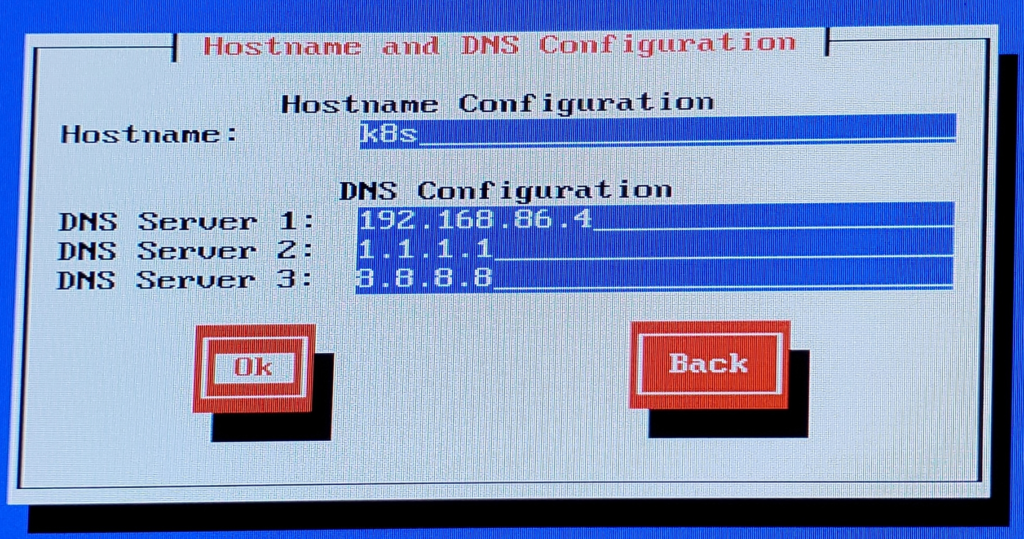
I also use a local DNS server on my network, so I choose that as my primary DNS entry for my XCP-ng machine. For for my secondary DNS servers, I entered first Cloudflare and then Google. We also need to set the Hostname for the server. Because I am going to be using this machine for a Kubernetes cluster installation, I chose the name “k8s” for my machine.
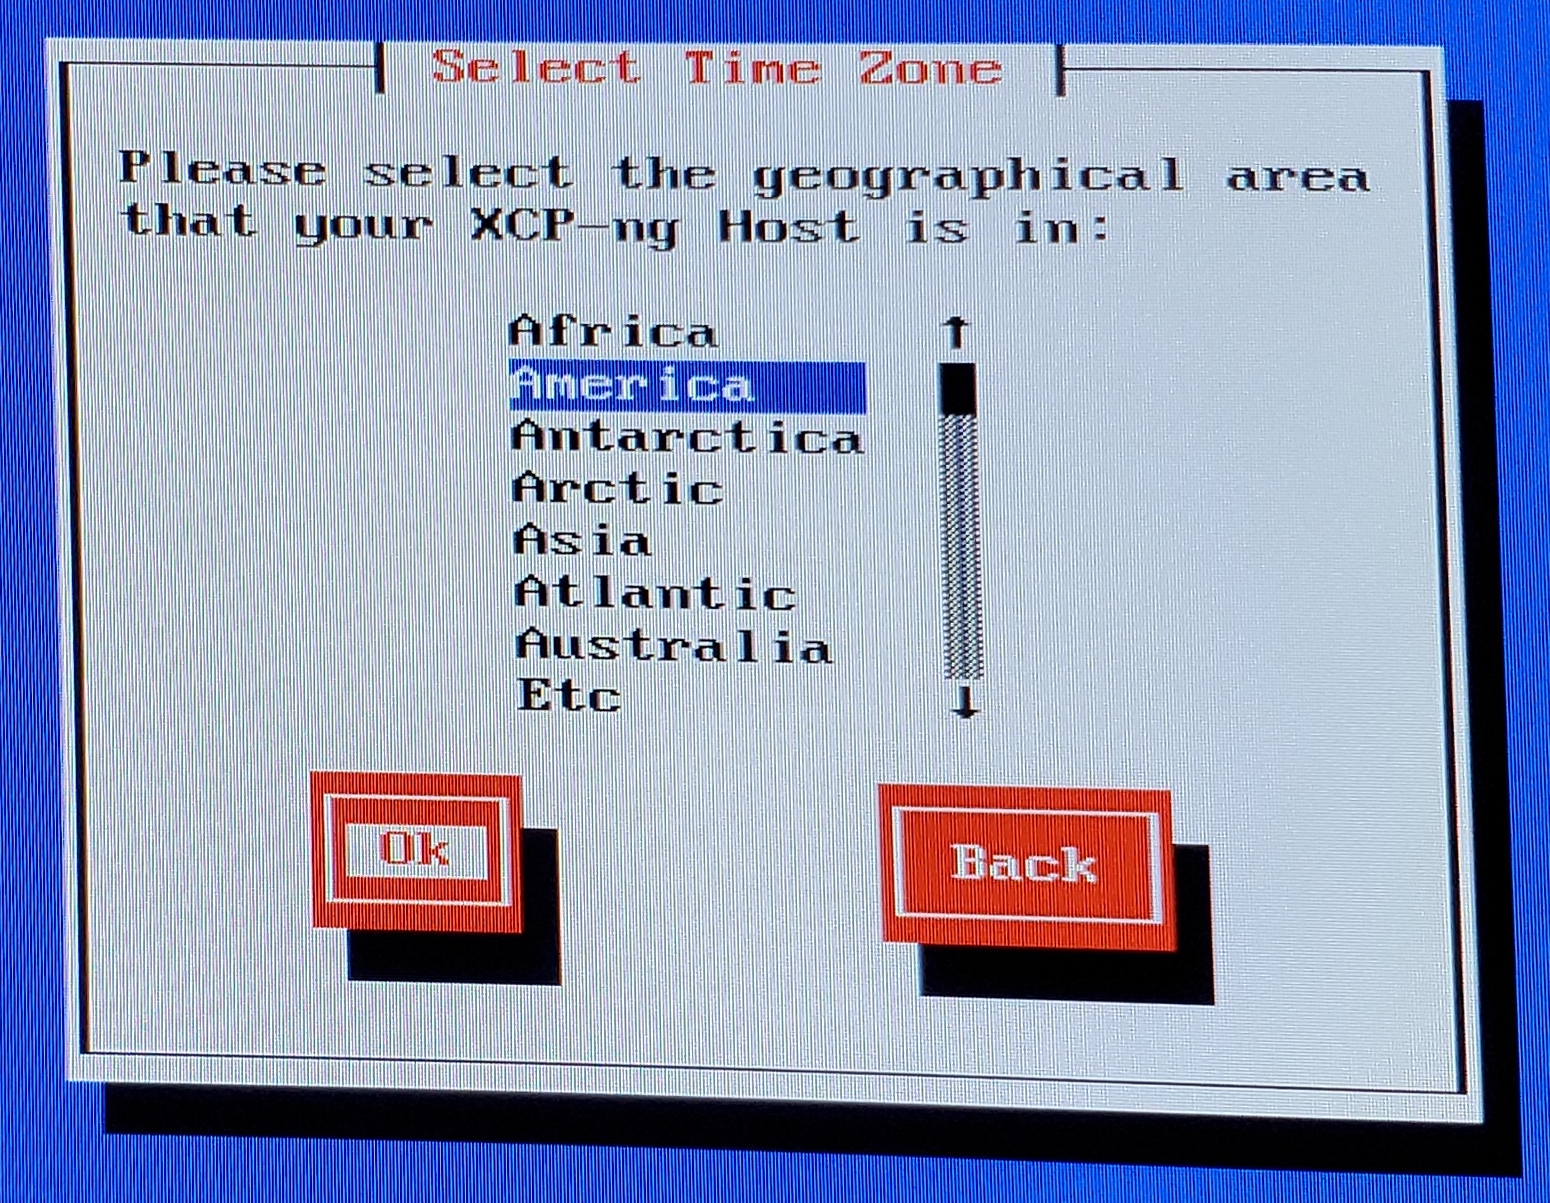
Area and Time Setup
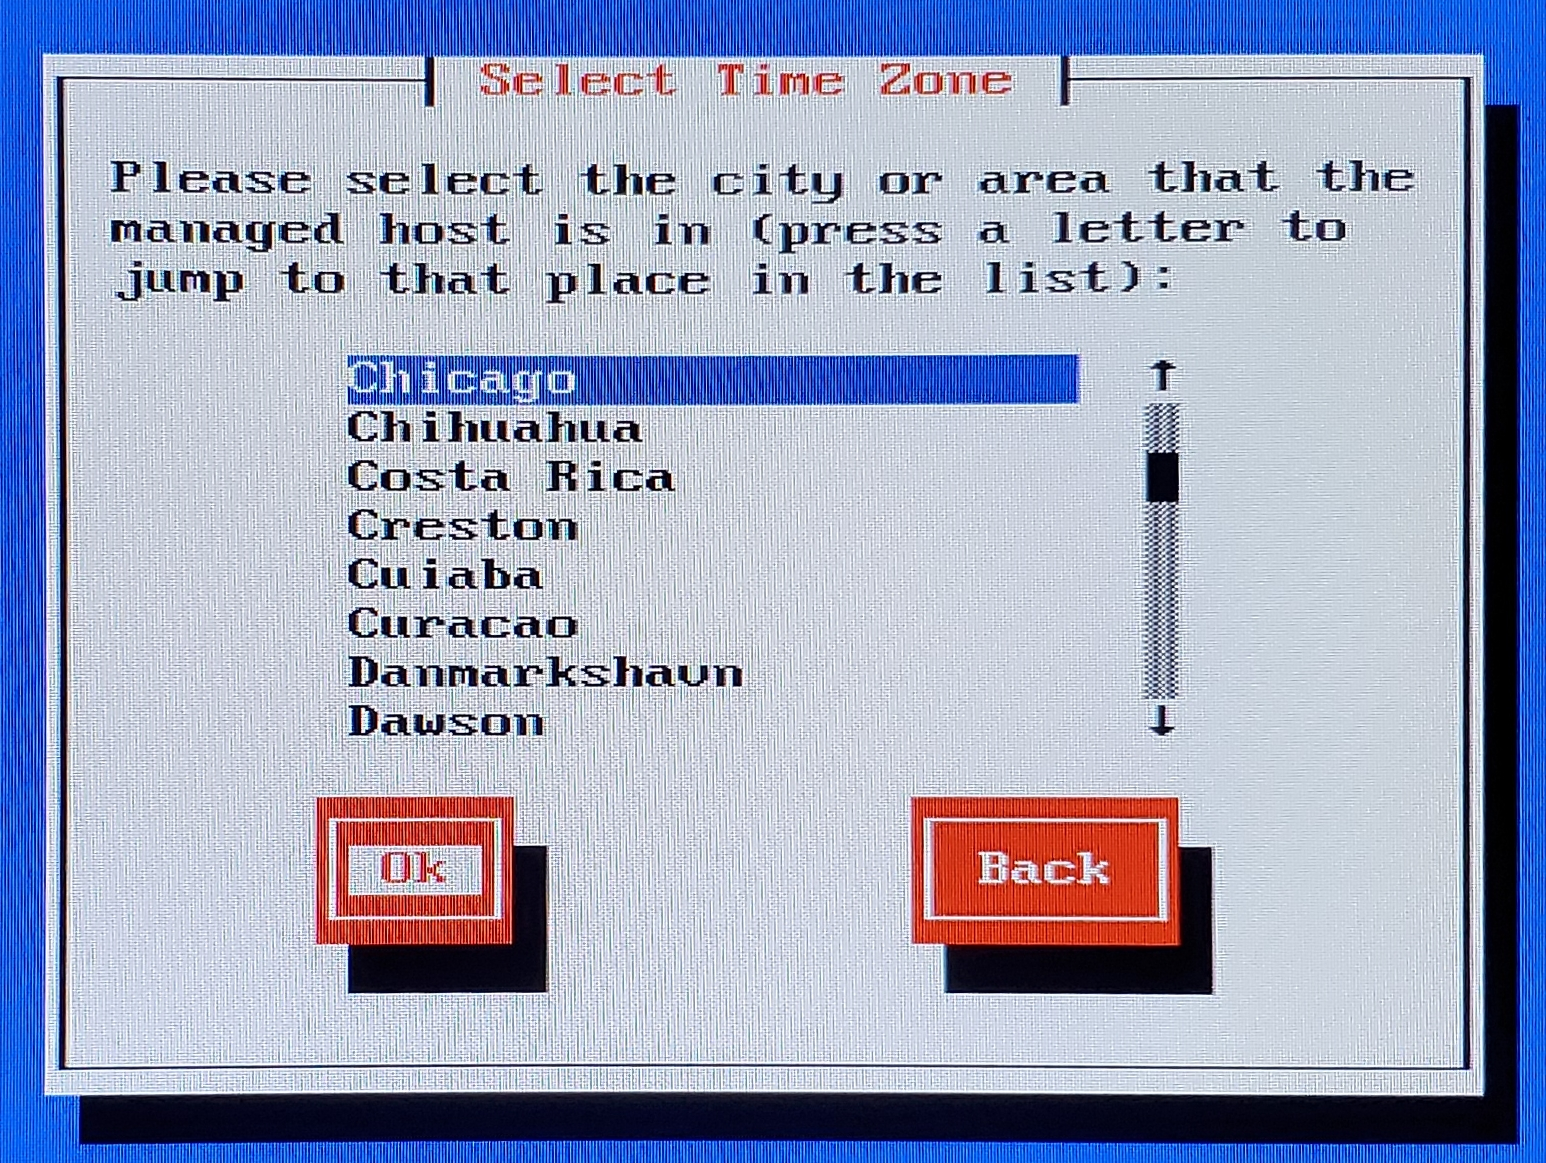
Geographical Area and Time zone. For geo-location, I chose “America” and the next screen will ask you for a city that is close to you in order to set a more exact time zone. Since I am in the Midwest, I chose “Chicago”.
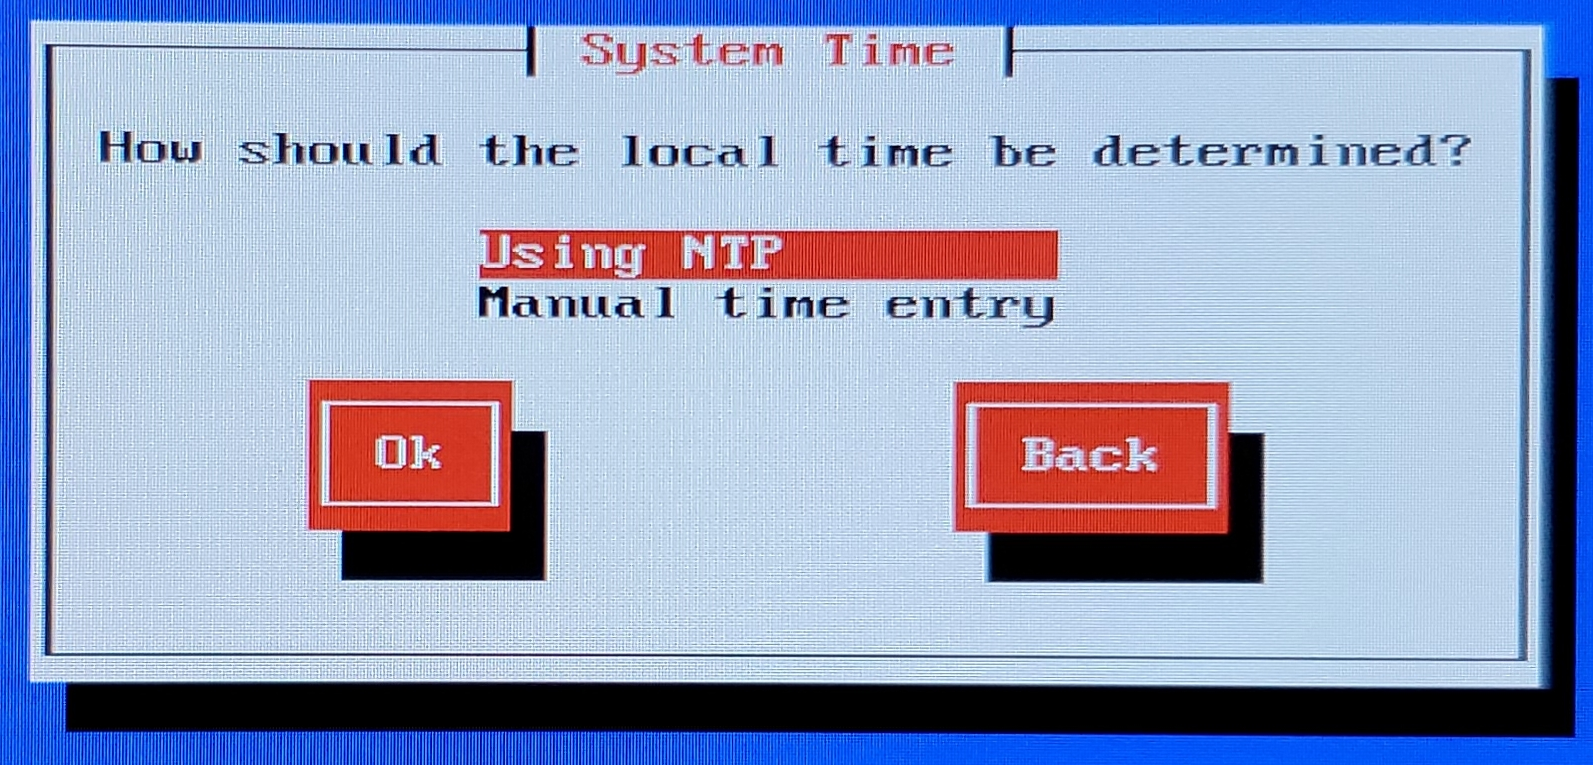
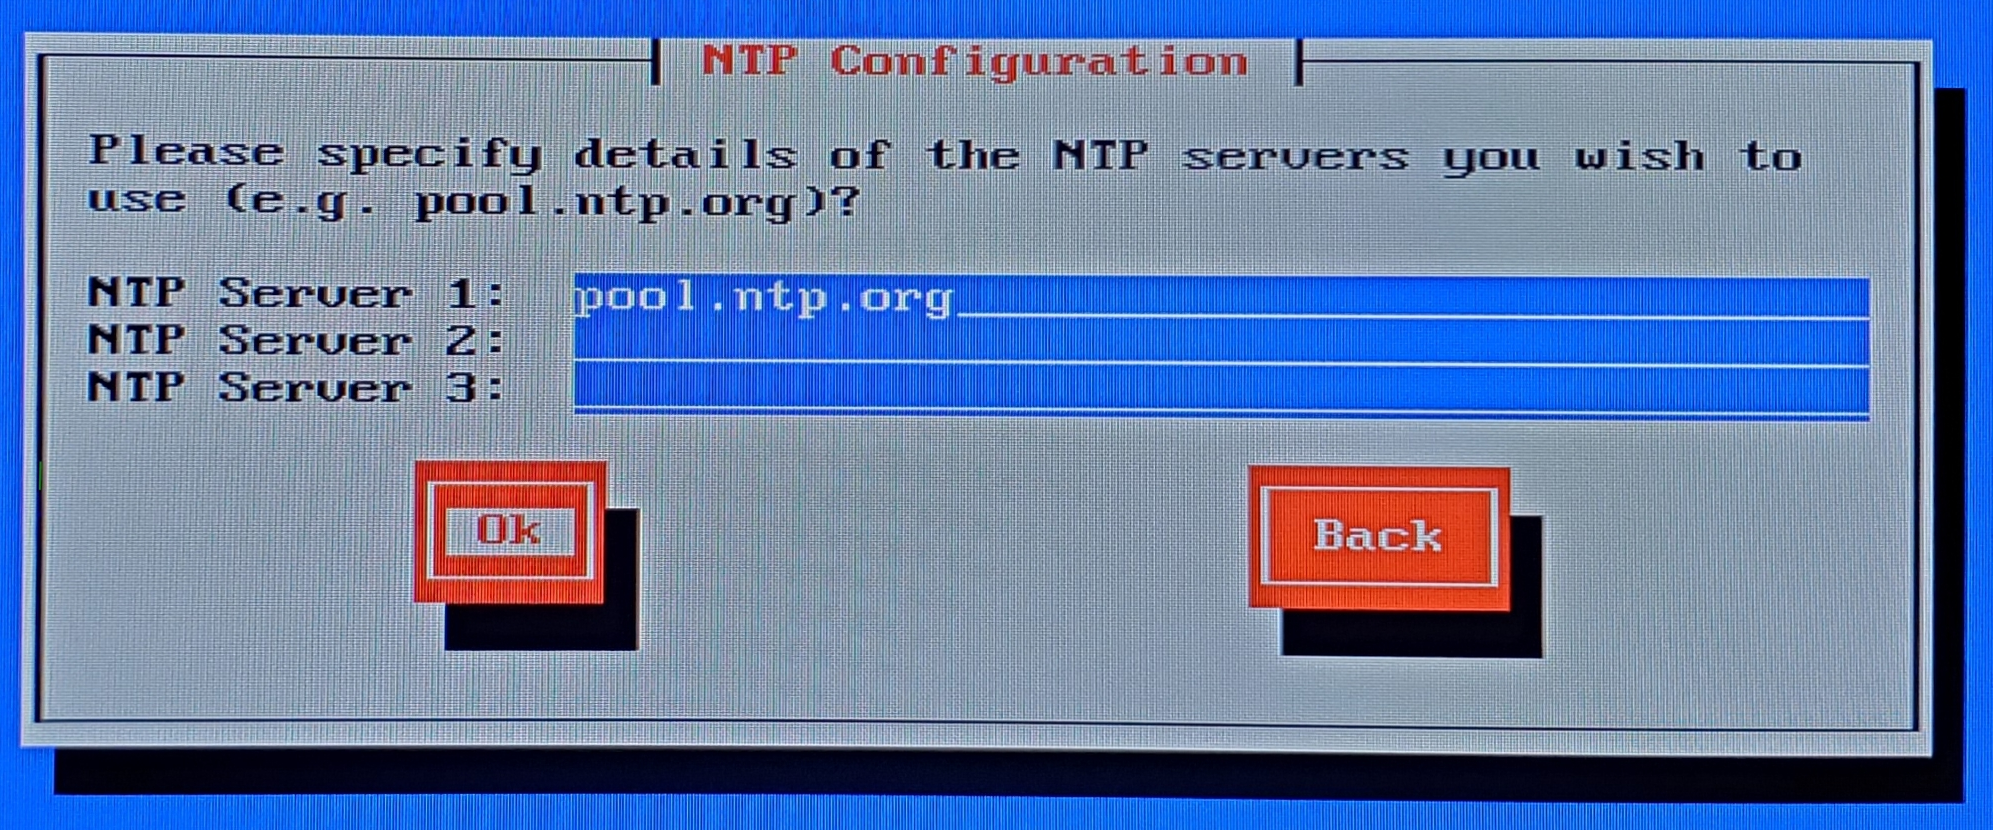
You have the choice to either set the computer’s time yourself or use a web service to sync the server’s time to. For this installation, I just chose to go with the default pool.npt service. I was too lazy to type in the date and time.
FINALLY!!! Let’s install something!!!
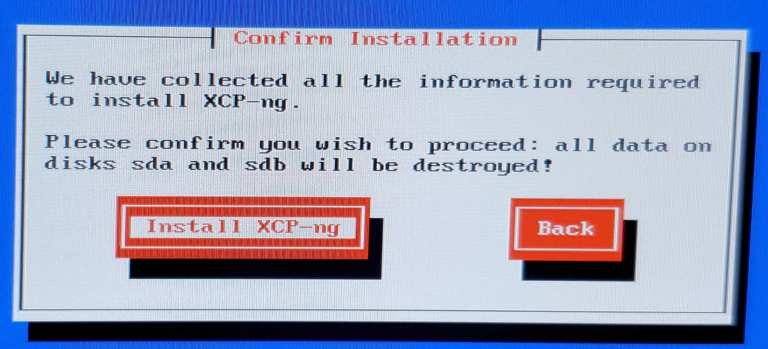
Click “Install XCP-ng” and we are off to the races!
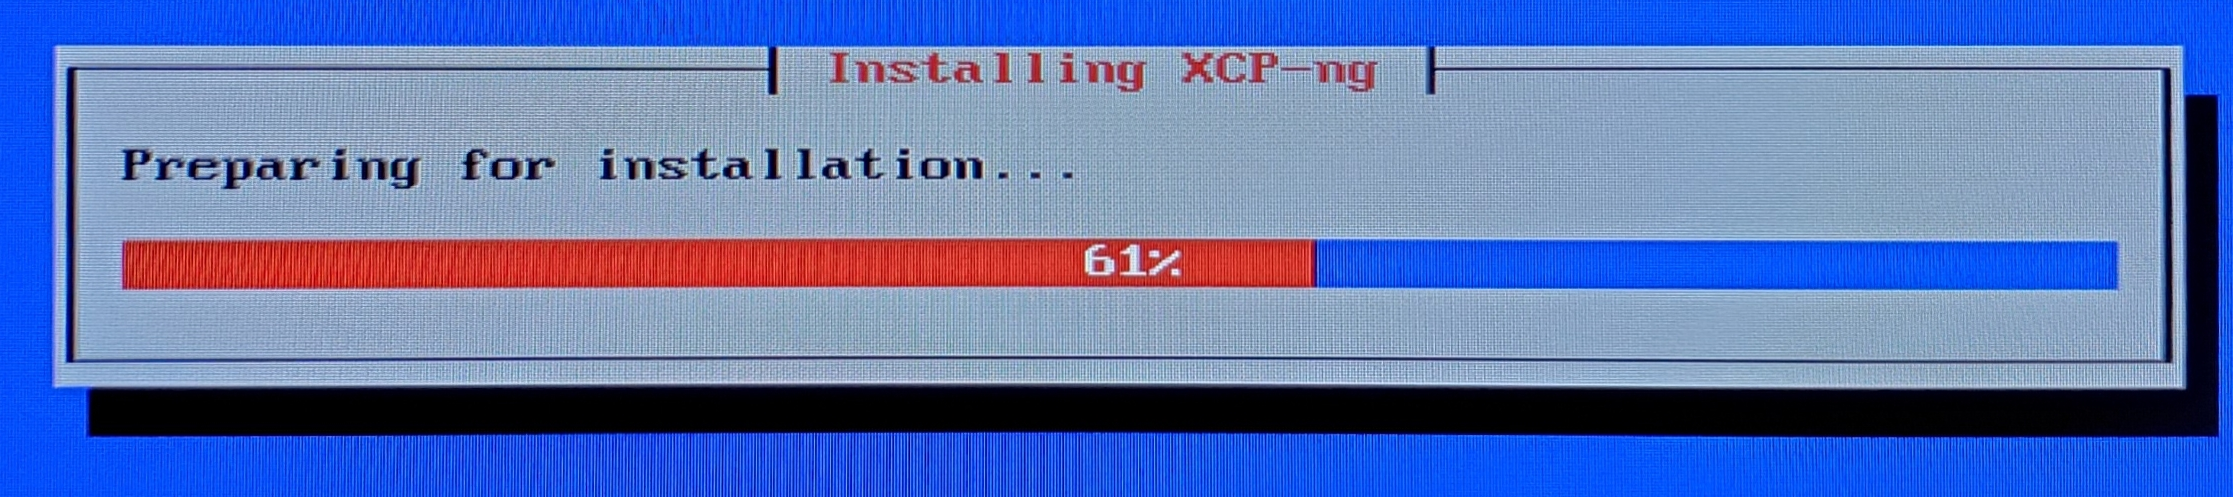
Almost there…….
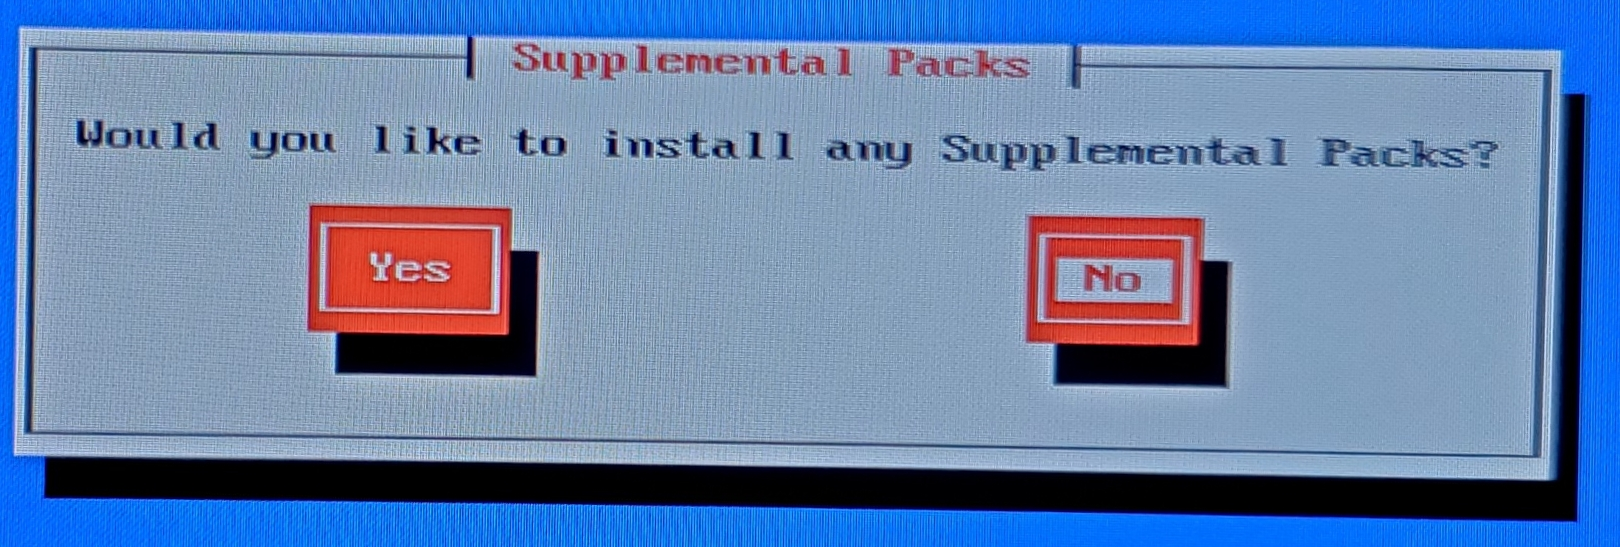
The process will then ask you if you wish to install any Supplemental Packs. Again, this is a simple testing installation so I don’t have a need to install any.
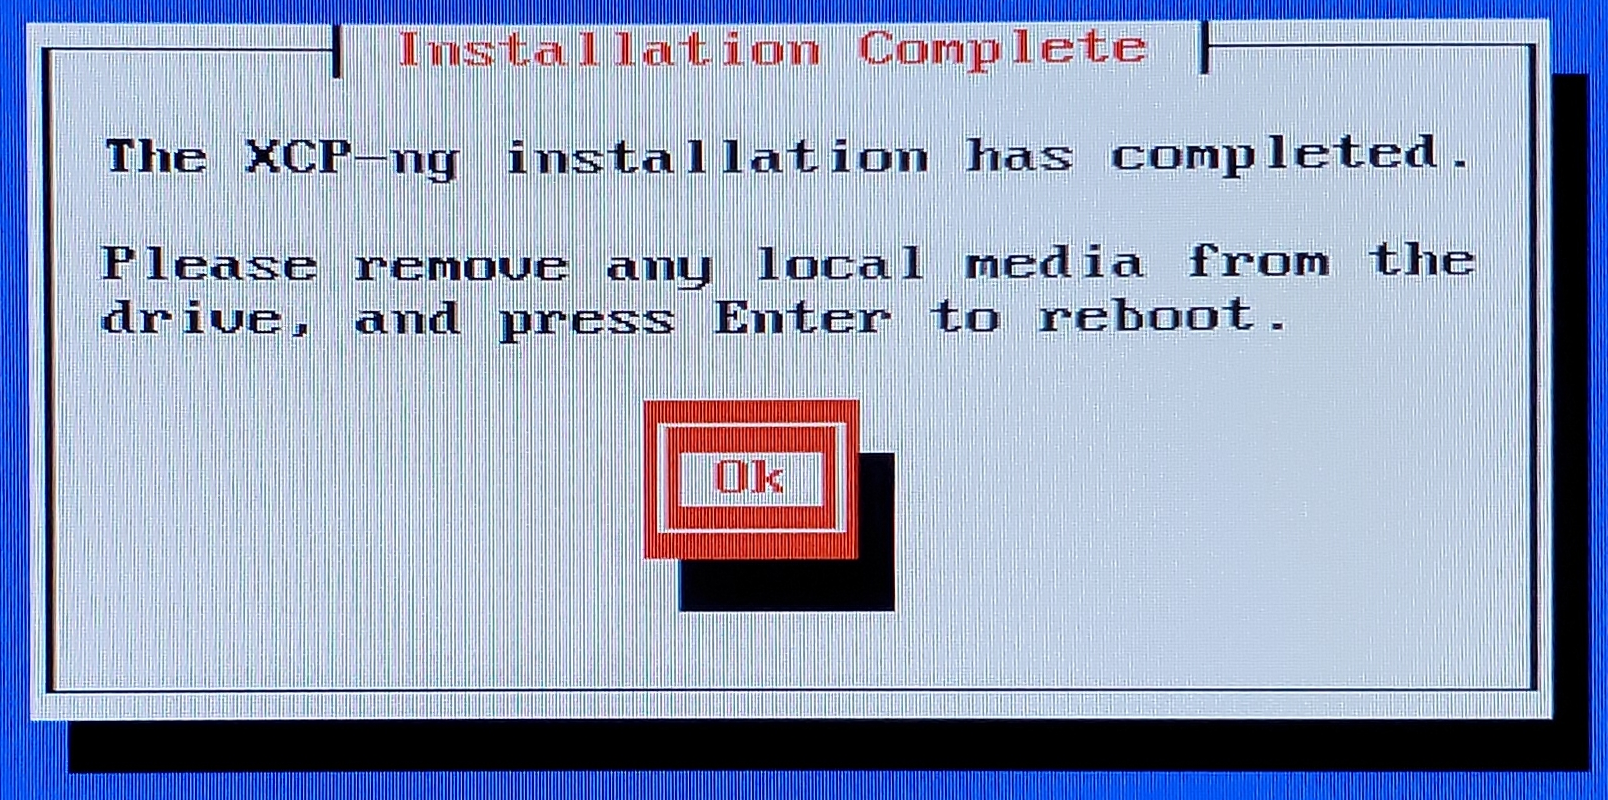
And Finally!!
We have completed our installation. You can remove your installation media from your machine and reboot.
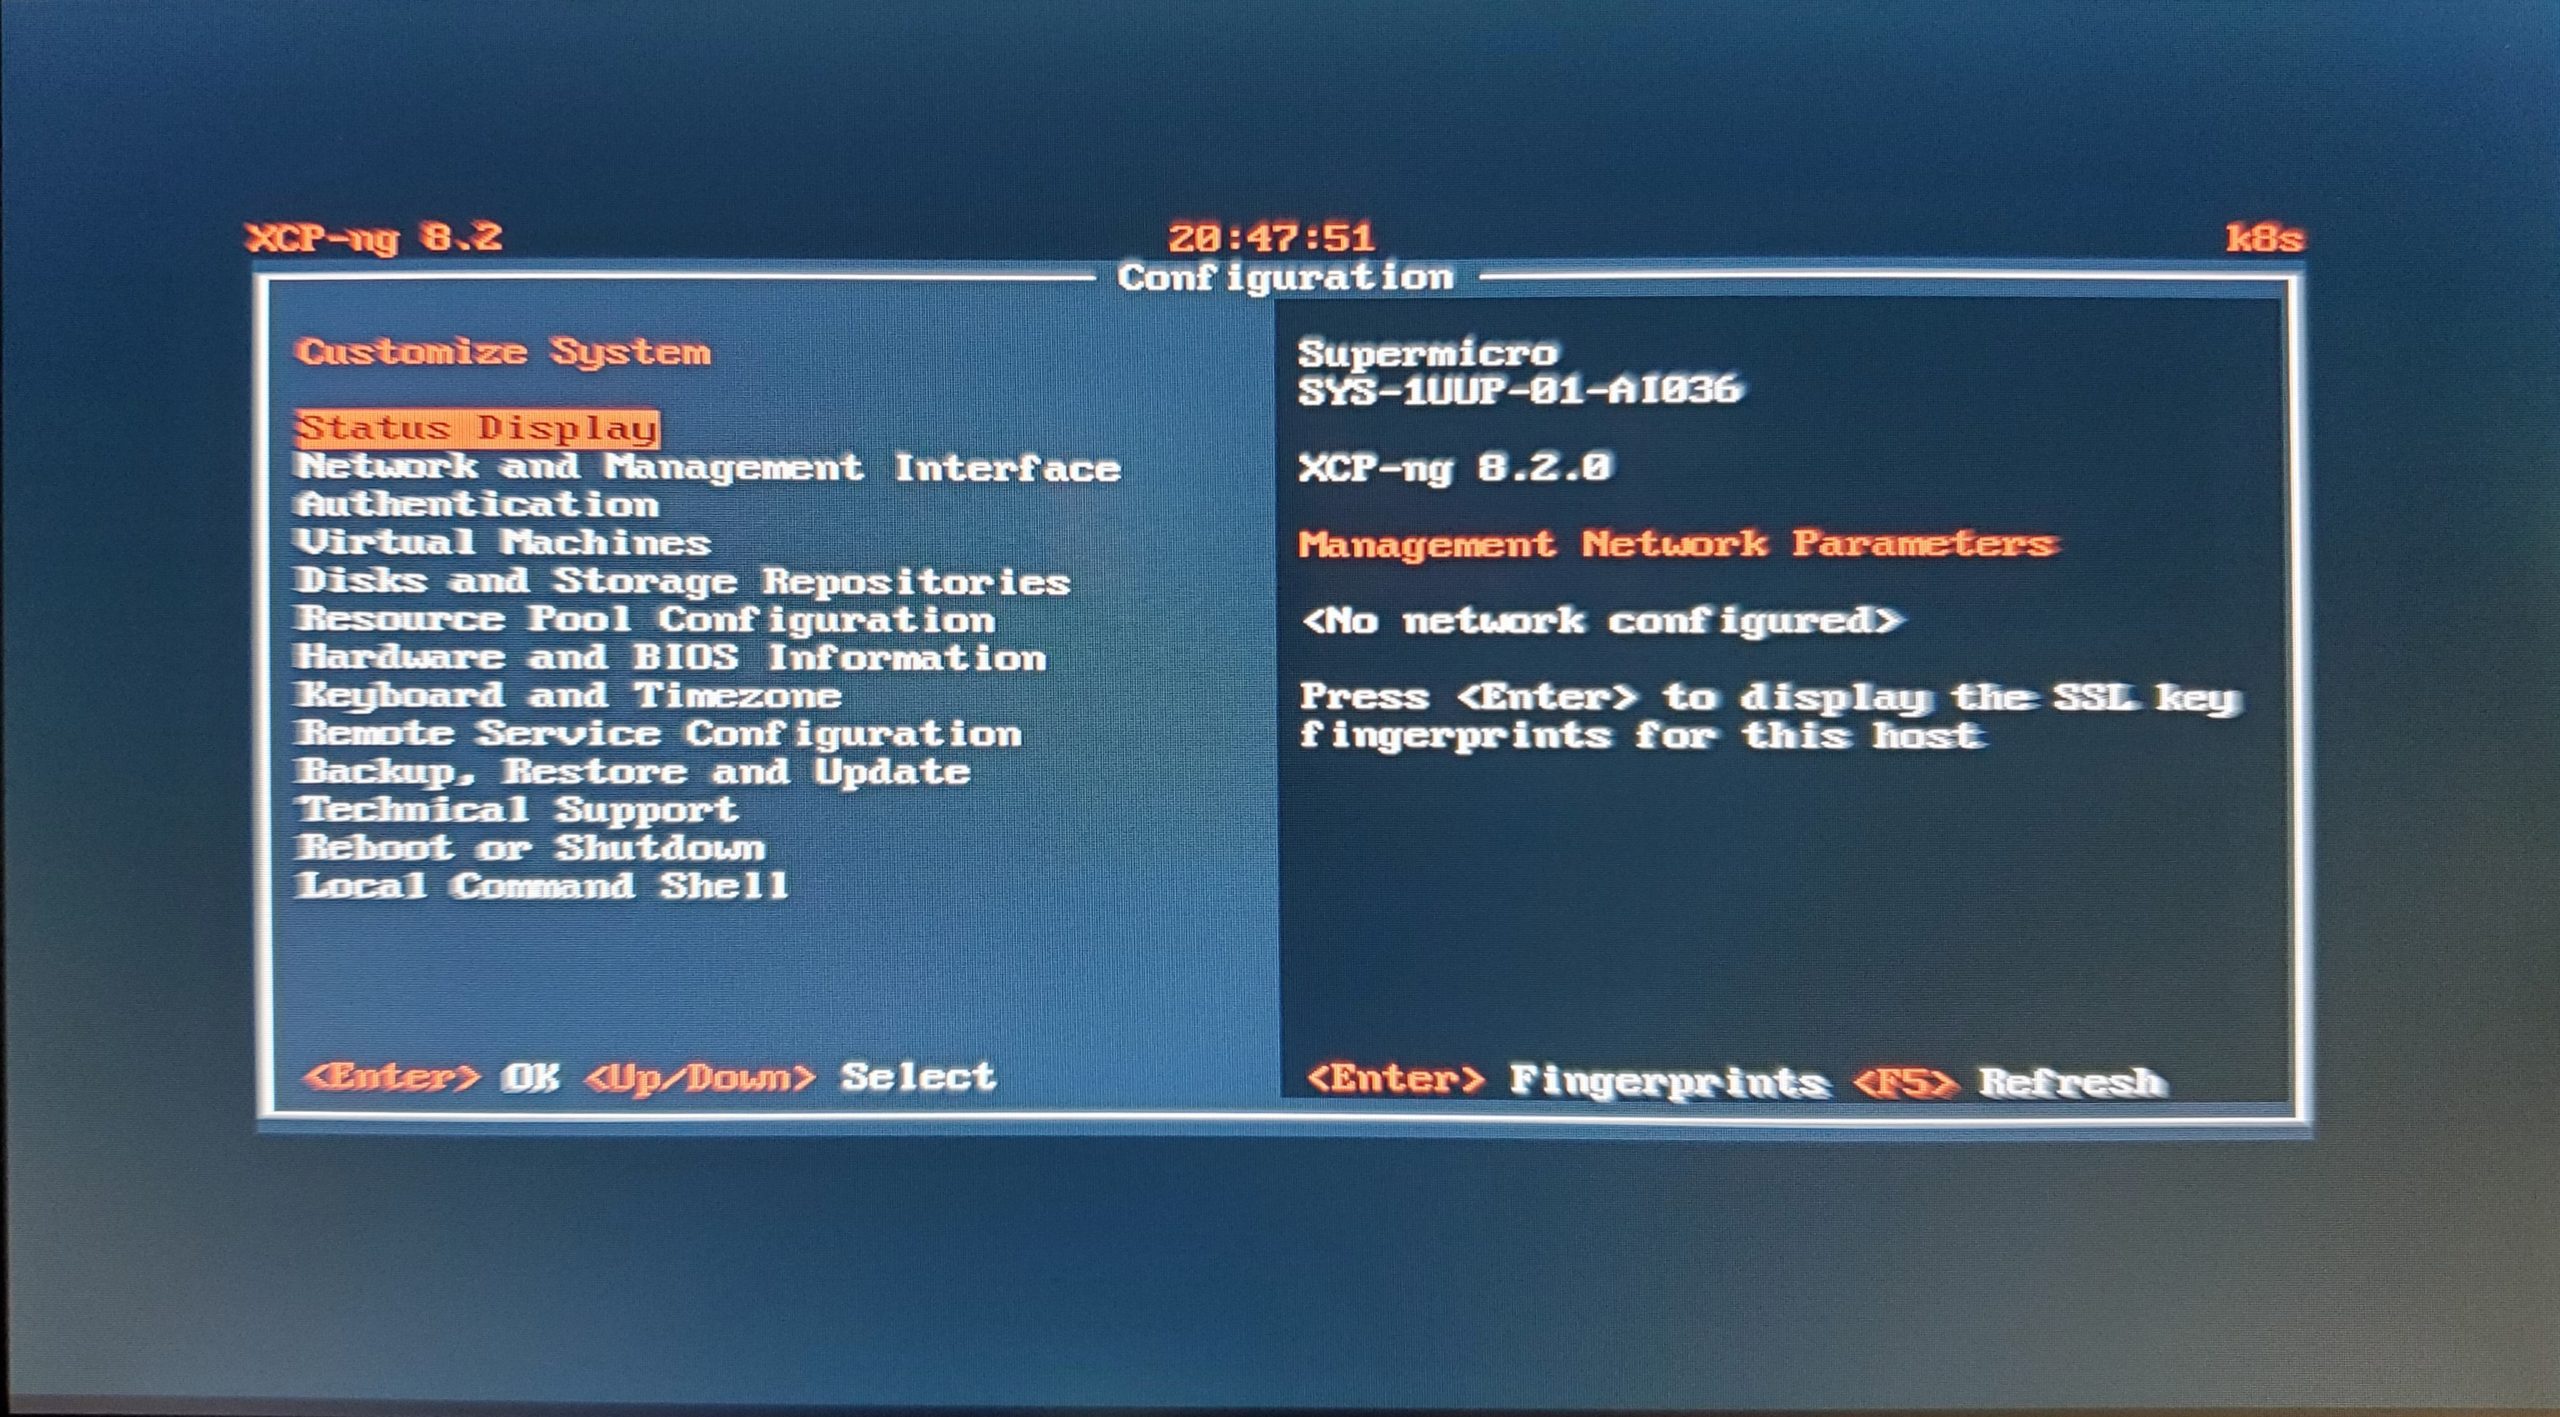
At this point, be a little patient with the reboot. Mine took just a bit longer on the very first boot. If everything went well, you should see the XCP-ng home screen after bootup completes.
On our next adventure, we will look at configuring our XCP-ng installation, working with XCP-ng Center, and installing the Xen Server.
Stay tuned and Hope to see you there!
>> NEXT: Configure XCP-ng